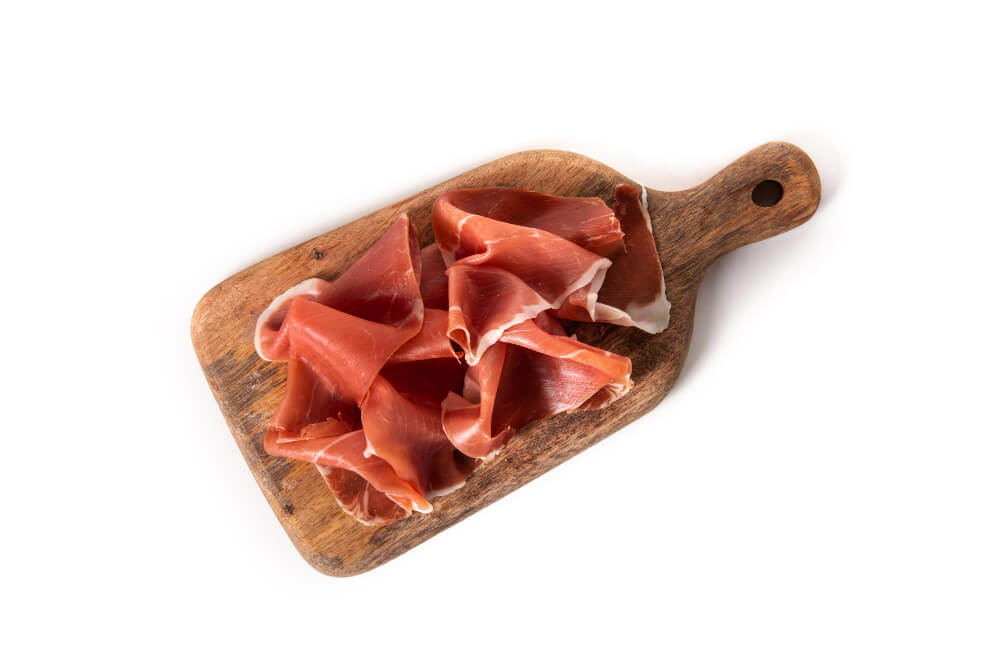
Slicing a ham or shoulder at home might seem intimidating, but with the right technique and tools, any ham lover can do it. In Jamón Experience a step-by-step guide to help you enjoy this delicious gastronomic experience in the comfort of your own home.


Preparing the Work Area
Before starting, it’s essential to properly prepare the work area. You’ll need a ham holder, sharp knives, a clean cloth, and, of course, the ham or shoulder. The ham holder should be well-secured to avoid movement during slicing, ensuring safety and precision.
Necessary Tools
Having the right tools is crucial. You’ll need at least three types of knives: a ham knife, a boning knife, and a chef’s knife. The ham knife is long and flexible, ideal for fine and precise cuts. The boning knife, with a short, rigid blade, helps separate the meat from the bone. Finally, the chef’s knife is useful for cutting the rind and external fat.
Placing the Ham or Shoulder
Once everything is ready, it’s time to place the ham or shoulder in the holder. If it’s your first time, it’s recommended to start with the hoof facing up, as this is the juiciest part and allows you to enjoy its flavor sooner. Secure the ham firmly in the holder.
Initial Cuts
The initial cuts are crucial to establish a solid base. Start by cutting the skin and outer fat. Do this carefully to avoid wasting meat. The idea is to remove only what is necessary to expose the meat and facilitate subsequent slicing. Once done, you can start slicing thin slices, always from top to bottom and away from you for safety.
Slicing the Ham
To slice the ham, use the ham knife. It’s important to maintain a constant angle and make smooth, long movements. The slices should be as thin as possible, almost transparent. Practice is key to perfecting this technique. Make sure to always slice parallel to the ham base to obtain uniform slices and make the most of the piece.
Rotating the Ham
As you progress with the slicing, there will come a time when you need to turn the ham. This usually happens when you reach the hip bone. At this point, turn the ham to continue slicing the other side, ensuring it’s well-secured in the holder. Follow the same procedure of removing the skin and fat before starting to slice.
Storing the Ham
Once you’ve finished slicing, it’s important to properly store the ham to maintain its flavor and texture. Cover the sliced surface with pieces of fat that you’ve previously removed. This will help prevent it from drying out. Also, use a clean kitchen cloth to cover the entire ham and store it in a cool, dry place.
Enjoying the Ham
Ham sliced at home has an incomparable flavor. You can serve it alone or pair it with bread, cheese, and wine for a complete gastronomic experience. Experiment with different pairings and enjoy each slice as if it were a small treasure.


With these tips, slicing a ham or shoulder at home will be a pleasant and rewarding activity. Practice will allow you to improve over time, and soon you will become an expert ham slicer. Enjoy!

